Bootstrap Checkbox Label
Intro
In certain cases the simplest details might just become very essential-- especially once you come to need them. As an example just how do your site visitors connect with the pages you build claiming a simple Boolean act-- just yes or no referring to some of the thoughts you have to request, the way they do consent to the conditions or maybe line up a few of the achievable options they might have. We most likely get past this with no paying much of an interest to the feature accountable for these types of activities still, the Bootstrap Checkbox Class is really a quite critical component-- one our forms can not actually perform without.
Within the current fourth edition of the Bootstrap system we are provided with the .form-check and also .form-check-label classes in order to expose the good old default checkbox element and in case you would most likely want them stacked just make sure you have wrapped them within an additional <div> with the .form-check class specified to it. In order your checkboxes to present correctly in Bootstrap 4 you have to likewise specify the .form-check-label class to the <label> component and the <input> tag in itself should have the .form-check-input class.
The way to apply the Bootstrap checkbox:
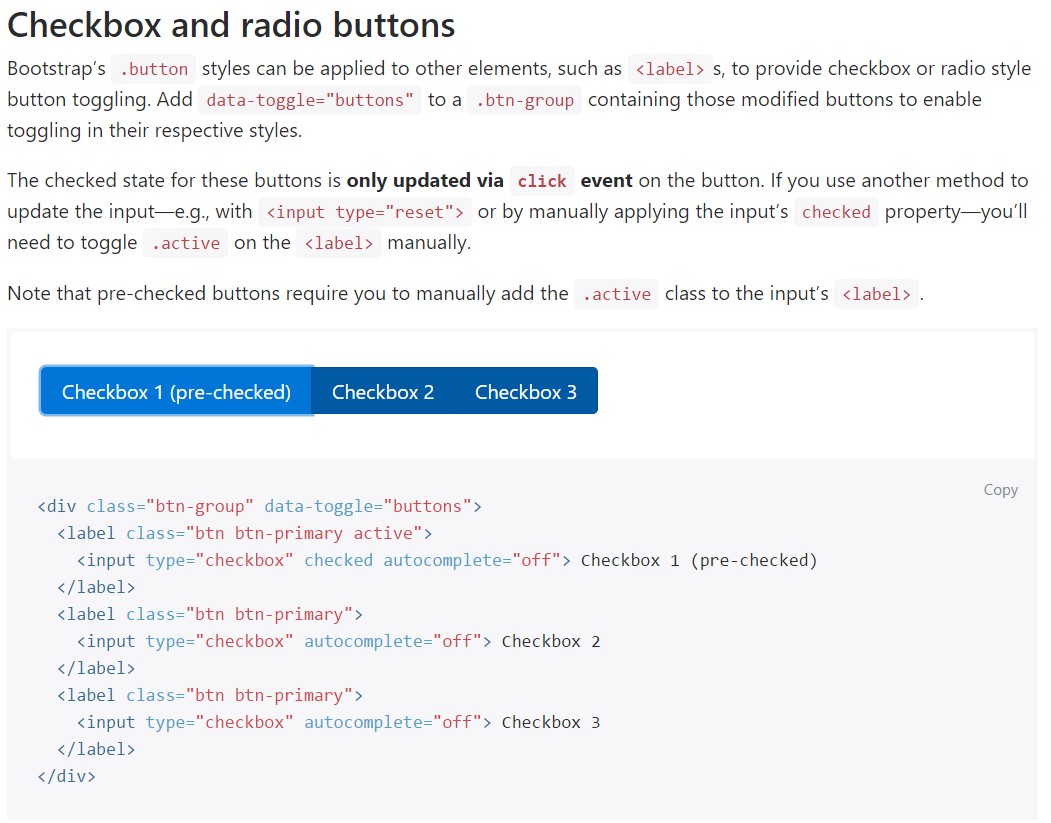
Bootstrap's .button styles can be put on various other elements, which includes <label>- s, to generate checkbox or radio style button toggling. Add data-toggle=" buttons" to .btn-group having those reshaped buttons to enable toggling in their various styles. The checked state for these buttons is only updated via click event on the button.

<div class="btn-group" data-toggle="buttons">
  <label class="btn btn-primary active">
    <input type="checkbox" checked autocomplete="off"> Checkbox 1 (pre-checked)
  </label>
  <label class="btn btn-primary">
    <input type="checkbox" autocomplete="off"> Checkbox 2
  </label>
  <label class="btn btn-primary">
    <input type="checkbox" autocomplete="off"> Checkbox 3
  </label>
</div>
Sometimes we need to have the checkboxes to arrive in our forms without the site visitor actually being capable to make any sort of action selecting them-- that's where exactly the disabled option shows up.
To disable effectively a checkbox in Bootstrap 4 employing the typical HTML attribute disabled attribute along with simply providing it you could easily additionally style the pointer each time the site visitor hovers over the disabled element altering it to a "not allowed " icon having your forms much more convenient and user-friendly to work with.
In case that you really like the tip and indeed would like to carry this out you really should designate the .disabled class to the parent .form-check element in turn the result to showcase ideal while the entire component has been simply hovered-- this will get considerably even more apparent
One more case
When you are working with checkboxes, wrap all of them in a <label> element utilizing the Bootstrap 4 .custom-control and .custom-checkbox classes utilized.
Employ .custom-control-input on the concrete <input> element.
In addition use two <span> elements: one with the .custom-control-indicator class added, and the other with .custom-control-description (and situate the original label within this element).
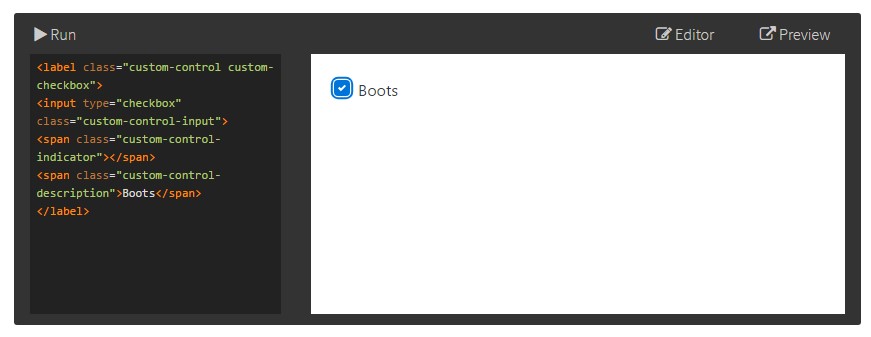
<label class="custom-control custom-checkbox">
<input type="checkbox" class="custom-control-input">
<span class="custom-control-indicator"></span>
<span class="custom-control-description">Boots</span>
</label>
Bootstrap Checkbox Form forms
Default radios and checkboxes are developed upon with the support of .form-check, a individual class for both of these input types that upgrades the layout and activity of their HTML features. Checkboxes are for choosing one or else several options within a list, while at the same time radios are for choosing one choice from several.
Disabled checkboxes and radios are supported, still, to supply a not-allowed cursor on hover of the parent <label>, you'll ought to add in the .disabled class to the parent .form-check. The disabled class will additionally lighten the text coloration to help reveal the input's state.
A brand-new aspect for the Bootstrap edition 4 system is the arrival of the so called customized form components. These are the similar elements we are used to inside usefulness but designated way more attractive and with the Bootstrap means. By using them you can put in amazing excitement as well as charm to your information by simply just delegating a couple of additional classes to the commands you feature in your forms.
If you want to utilize custom-made checkboxes wrap them inside a <label> element assigning to it the .custom-control and .custom-checkbox classes. Anytime designing the <input> element verify you have actually as well incorporated the .custom-control-input to it. You must also employ two <span> elements - one with .custom-control-indicator class utilized and one more carrying the .custom-control-description class together with the actual specification you would need to attach to the label your Bootstrap Checkbox HTML.
Conclusions
That's literally everything you ought to perform in order to place a checkbox feature for your Bootstrap 4 powered website and add in a number of custom-made flavor to it incorporating it a tasteful appearances. And now all you require to do is repeat the drill till you've inspected every one of the checkboxes desired are actually on the page.
Take a look at a number of online video information regarding Bootstrap checkbox
Related topics:
Bootstrap checkbox approved records
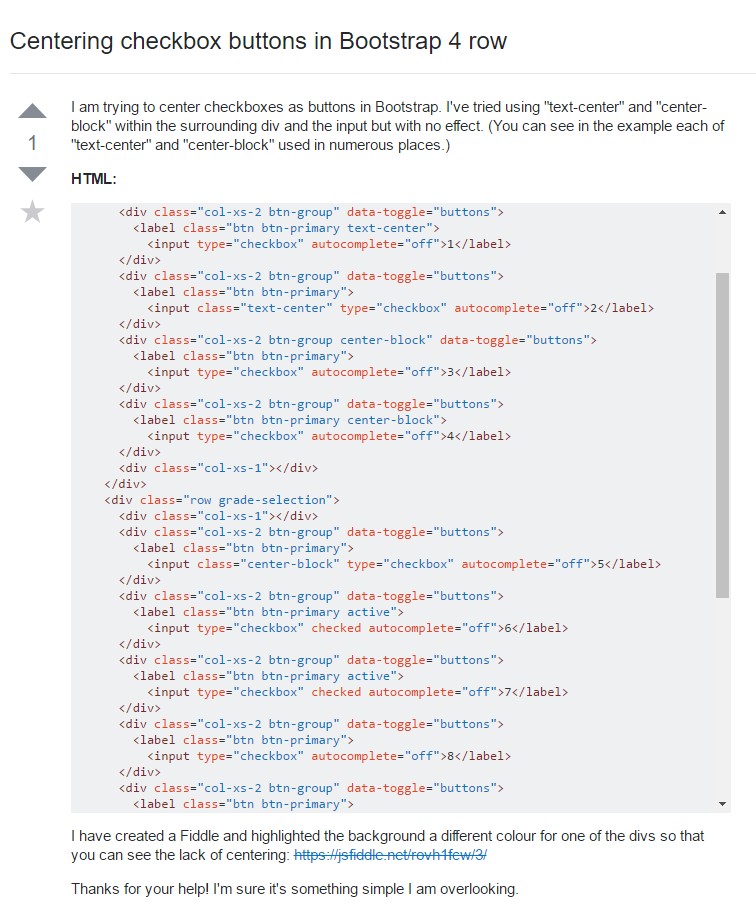
Centering checkbox buttons in Bootstrap 4 row
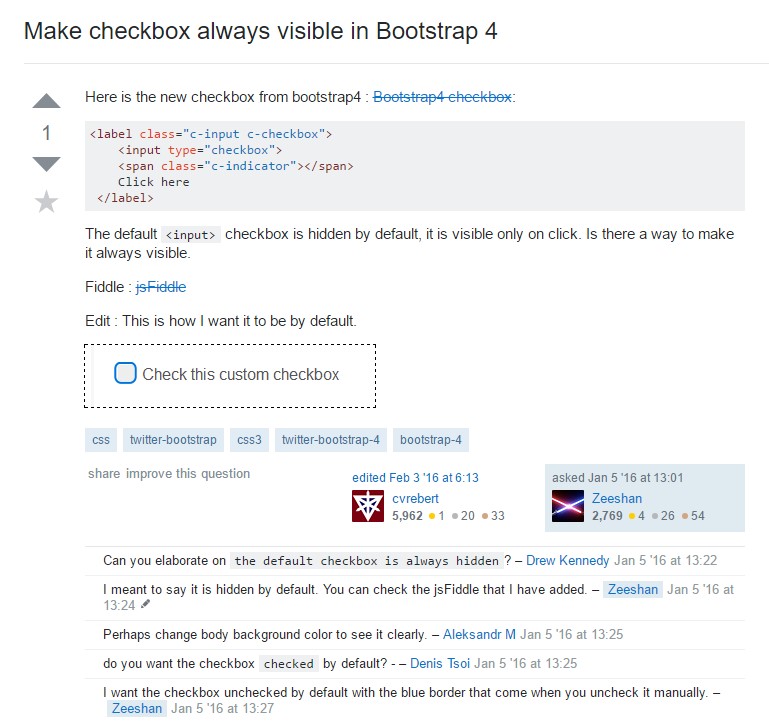
Make checkbox always visible in Bootstrap 4