Bootstrap Radio Working
Introduction
In some instances the little details turn out to be actually the most important given that the whole entire pic is in reality a whole incorporating several tiny details perfected and gathered in order to present and observe like a well-oiled shiny machine. These kinds of straight phrases might probably appear a little bit too much once it comes down to make regulations however if you just consider about it for a little bit there is certainly just a single feature allowing the site visitor to grab one amongst a several accessible solutions. And so in the event that you are actually having some forms having this type of possibilities controls over your several websites does this suggest they will all look similar?And most essentially-- would you choose that?
Happily for us the most recent edition of the absolute most famous mobile friendly framework - Bootstrap 4 goes completely stacked having a brilliant brand-new approach to the responsive activity of the Bootstrap Radio Button regulations and just what is bright new for this edition-- the so called custom made form controls-- a palette of predefined looks you can just bring and employ just to add the so desired nowadays assortment in the graphical demonstrations of quite boring form components. In this degree let's take a look precisely how the radio tabs are planned to be specified and designated in Bootstrap 4.
The way to utilize the Bootstrap radio button:
For you to build a radio tab we primarily really need a <div> element to wrap it inside with the .form-check or .form-check-inline added. The first class will specify the Bootstrap Radio Working a block appearance and the next will align the element inline together with eventually a few more others such as it. These are really brand-new classes for Bootstrap 4-- in the past editions they used to be specified as .radio and .radio-inline. Assuming that you wish the radio button to be on web page yet to get disabled for clicking-- make certain you have actually as well incorporated the .disabled class here.
Within the .form-check element we should primarily bring in a <label> with the .form-check-label class assigned and inside it an <input> with the .form-check-input class and certain attributes used like type = “radio”, name = “ ~ same name for all the options ~ ” if you possess a number of radio buttons detailing a few methods a user should get from they really should possess the identical name and yet other unique id = “ ~ unique ID ~ “ attribute as well as a value=” ~some value here ~ ” attribute. Finally if you're aiming to disable the control -- as well provide the disabled attribute to the <input> element.
This is also the location to specify in case you wish the radio control to at first load as checked as soon as the webpage gets loaded. Assuming that this is really what you're after-- instead of disabled provide the checked attribute to the <input>. Supposing that you occur to on purpose or by mistake incorporate a few radio buttons with the checked attribute-- the last one read will be in addition the one featuring as checked on webpage load.
Checkbox and also Bootstrap Radio Form representations
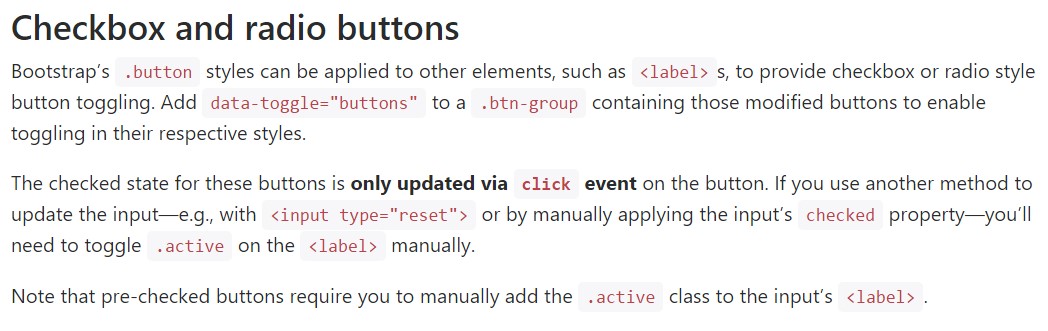
The reviewed status for these kinds of buttons is only up-dated via click event on the button. If you apply some other option to modify the input-- e.g., with <input type="reset"> or through manually applying the input's examined property-- you'll will need to toggle .active on the <label> by hand.
Bear in mind that pre-checked buttons demand you to manually add in the .active class to the input's <label>.
Checkbox

<div class="btn-group" data-toggle="buttons">
  <label class="btn btn-primary active">
    <input type="checkbox" checked autocomplete="off"> Checkbox 1 (pre-checked)
  </label>
  <label class="btn btn-primary">
    <input type="checkbox" autocomplete="off"> Checkbox 2
  </label>
  <label class="btn btn-primary">
    <input type="checkbox" autocomplete="off"> Checkbox 3
  </label>
</div>
Radio

<div class="btn-group" data-toggle="buttons">
  <label class="btn btn-primary active">
    <input type="radio" name="options" id="option1" autocomplete="off" checked> Radio 1 (preselected)
  </label>
  <label class="btn btn-primary">
    <input type="radio" name="options" id="option2" autocomplete="off"> Radio 2
  </label>
  <label class="btn btn-primary">
    <input type="radio" name="options" id="option3" autocomplete="off"> Radio 3
  </label>
</div>
Radio button opportunity
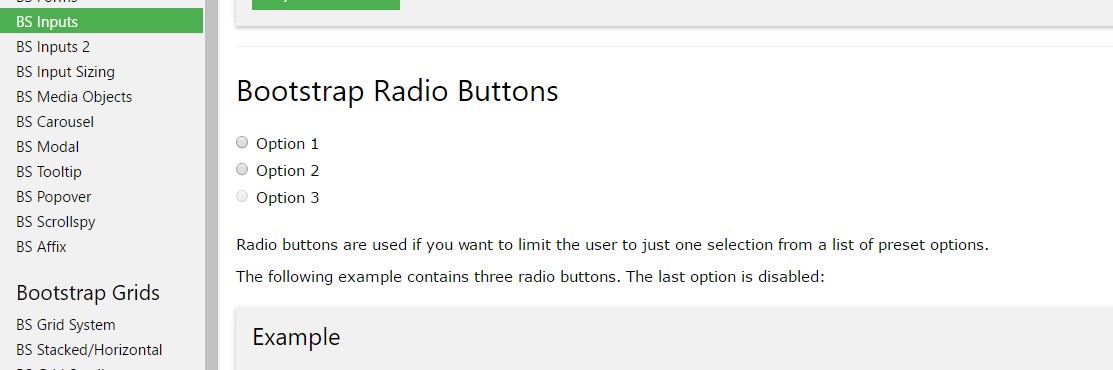
We can surely employ input features of the radio type whenever we need the user to pick only one of a variety of alternatives.
Every time there is more than one feature of this one type using the exact same value in the name attribute, just one may be selected.

<div class="row">
  <div class="col-lg-6">
    <div class="input-group">
      <span class="input-group-addon">
        <input type="checkbox" aria-label="Checkbox for following text input">
      </span>
      <input type="text" class="form-control" aria-label="Text input with checkbox">
    </div>
  </div>
  <div class="col-lg-6">
    <div class="input-group">
      <span class="input-group-addon">
        <input type="radio" aria-label="Radio button for following text input">
      </span>
      <input type="text" class="form-control" aria-label="Text input with radio button">
    </div>
  </div>
</div>
Final thoughts
Generally this is the method the default radio switches get defined and work throughout in Bootstrap 4-- in a moment everything you require are some options for the visitors to pick from.
Check out a number of video clip short training regarding Bootstrap Radio Button:
Related topics:
Bootstrap buttons official documentation
Bootstrap Radio button - article
Checkbox radio buttons break entire toolbar styling
